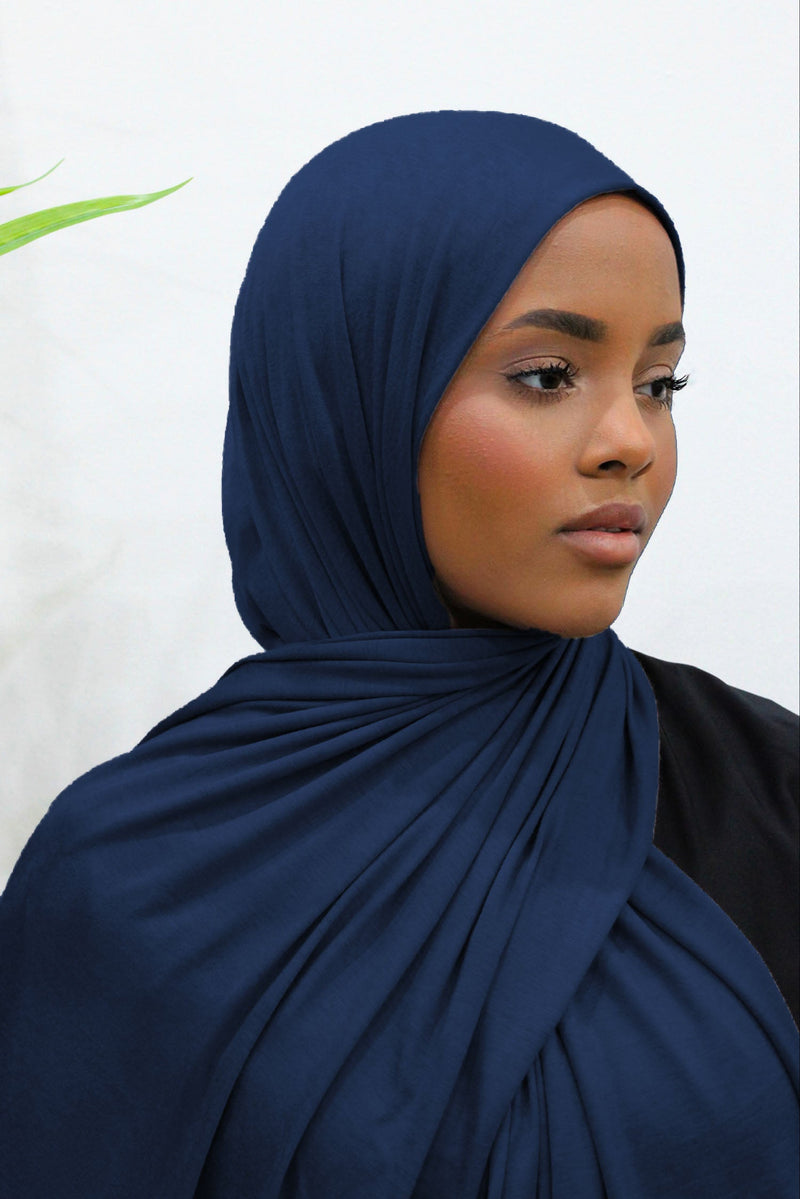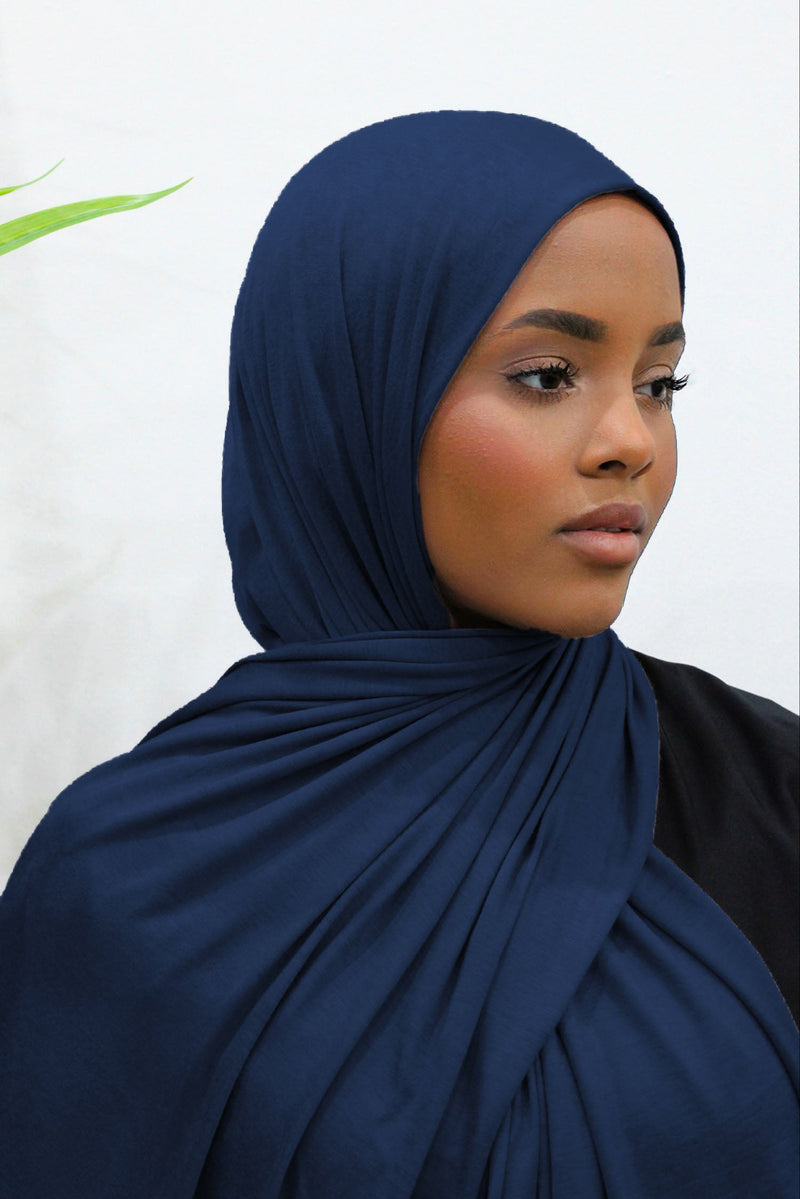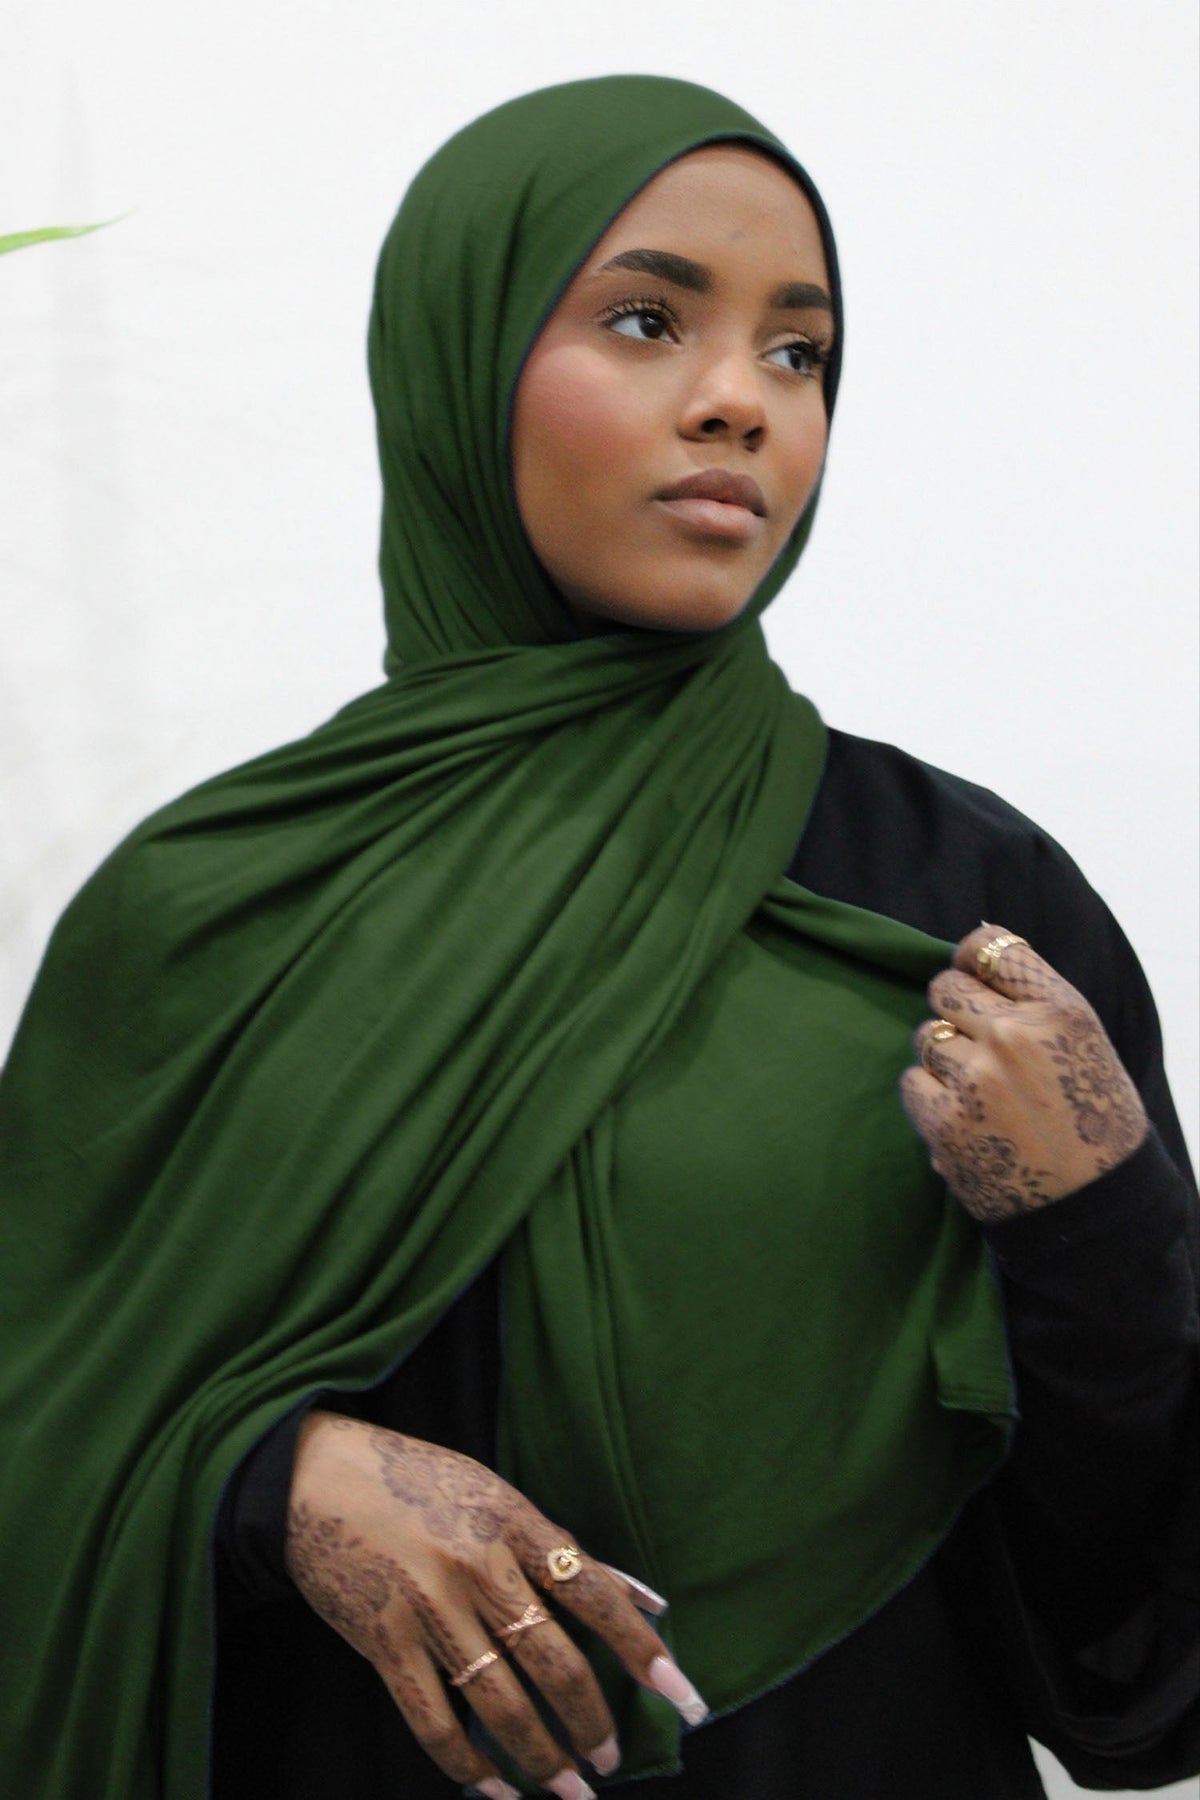
No inner cap? Start with the scarf, not a tighter wrap
An inner cap may be useful in one hijab arrangement and unnecessary in another. Leaving it out is not a competition to use fewer pieces, and keeping it does not mean you have failed to learn a simpler style. The useful question is what the cap was doing—and whether the scarf can do that job comfortably on its own.
Perhaps the cap keeps your hair contained, provides opacity beneath a sheer scarf or gives the front edge a surface on which to rest. Remove it without replacing an essential function and the same wrap may no longer work. On the other hand, a sufficiently opaque scarf in a suitable shape may need less support than you assumed.
This is a practical guide to trying cap-free arrangements, with instructions to rehearse at home and ways to work out why a scarf keeps moving. It does not prescribe a religious dress standard. Use the coverage guidance you follow, and assess the completed arrangement from more than one angle.
Find out why you reach for a cap in the first place
Put your usual scarf beside its undercap and identify their separate roles. If the scarf is sheer, opacity is an immediate question. If the cap holds loose hair at the sides, containment is another. If its visible edge is part of the colour arrangement you like, that is a styling preference rather than a structural requirement.
You may be addressing several roles at once. Write them down separately so you do not expect one tighter fold to solve them all. A scarf that stays in place can still be unsuitable for your preferred coverage; an opaque scarf can still move more than you want.
Try the scarf alone briefly in a private setting, without arranging it more tightly than normal. Notice what changes first. Does the front slip backwards, do the sides open, or does the back no longer cover the hair arrangement? That observation determines the next adjustment.
If the only problem is a colour contrast you miss at the forehead, you can simply choose a different scarf or keep the cap. Cap-free styling does not have to be preferable. The aim is to understand an option, not turn it into a rule for your whole wardrobe.
Our guide to what goes beneath a hijab considers the separate jobs of caps and underscarves. Use it as background when you are unsure which support your current arrangement actually needs.
Choose a scarf with enough usable cloth
Lay the scarf out and look at its shape before trying another wrap. A long rectangle and a square do not distribute fabric in the same way. Folding a square diagonally gives a triangle with one long edge and a broad point; a rectangle may offer long ends but less depth across the back.
Measure its relaxed length and width if the size is unclear. Do not stretch a knit while measuring and then treat the extended dimensions as the space available for a comfortable wrap. Compare it with a scarf whose coverage you already understand.
Inspect the edge finish. A thick hem can create a bulky fold near the temple, while an unfinished or shaped edge may need a different arrangement. The size in a listing does not explain all of those details, so ask for a close-up where they matter to you.
Try the fabric with the number of layers you intend to use. An opaque doubled section at the front does not necessarily provide opacity through a single layer at the back. Keep the assessment specific to the complete wrap rather than declaring the scarf suitable from one folded corner.
Do not select fabric solely from a promise that it will never slip. Grip, weight, surface and the way you distribute the cloth interact in the arrangement you wear. A familiar scarf with adequate room is a useful first trial because you are changing only the cap, not every part of the routine.
Prepare without building another hidden layer
Arrange your hair as you normally do for the coverage you intend, using a comfortable method that stays contained without relying on a tight outer scarf. Keep hard clips and bulky fastenings away from places where they press through the wrap or interfere with glasses.
You do not need to create a different head shape to follow a photograph. A large addition at the back can change how much cloth is available elsewhere. Judge the scarf over the arrangement you actually intend to wear rather than a temporary shape made only for the trial.
Have a mirror available for the front and a way to see the back, such as a second mirror or a private photograph. Put on the top you expect to wear. Its neckline will help determine where the scarf needs to sit across the chest and shoulders.
Keep suitable fastenings ready, but do not assume that cap-free also means fastening-free. Use products intended for the fabric and follow their instructions. Do not hold pins in your mouth or leave loose small components where children could reach them. A simpler style should not create a careless handling routine.
Begin without jewellery near the scarf. You can assess accessories afterwards, when you know that the basic arrangement works. A heavy brooch should not become the answer to an opening that the scarf cannot comfortably cover on its own.
Try one: a rectangular scarf with a single shoulder drape
This arrangement starts with a rectangle wide enough to provide the back and side coverage you want. It uses one end across the chest rather than repeated wrapping around the head. Practise with a scarf you can manage comfortably, and abandon the arrangement when its dimensions are unsuitable.
Place the front before moving the ends
Set one long edge across the top of the head in the position you prefer around the face. Let the rest of the width fall towards the back. Leave one end longer than the other; for this description, make the end on your right the longer one.
Bring the sides gently into place without pulling the edge taut. Look at the cloth above each ear and at the back before fastening anything. If drawing the sides forward uncovers another area, you may need more width or a different starting position.
Establish the relaxed opening
Bring the front sections together beneath the chin at a comfortable position. Use a suitable secure fastening when the arrangement needs it, keeping hard or sharp parts away from the skin. Check that you can speak, turn and look down without the opening becoming tight.
Do not use the fastening to gather several layers into a knot of cloth. If there is bulky fabric at the jaw, lift the scarf off and alter the front fold or position. Beginning again can be easier than adding tension to an arrangement that already feels wrong.
Take the longer end across the chest
Bring the right-hand end across the front towards your left shoulder. Let enough cloth remain across the chest for your chosen coverage. Rest the end over the shoulder only where it can stay comfortably; use an appropriate additional fastening if necessary rather than assuming it will remain there through every movement.
The shorter end can remain at the front or sit within the drape where that does not create a gap or a hard lump. Do not tuck it so tightly that it pulls the side of the face opening. The front should be supported by the arrangement, not by your keeping one shoulder raised.
Check what the crossing changed
Turn your head both ways, look down and reach forward. Inspect the back again: taking an end across the chest can pull material that was previously resting comfortably behind you. Correct the distribution before choosing the final fastening position.
When the shoulder end repeatedly falls, test another end length or a more compatible scarf. A heavier accessory is not automatically the answer. Keep this style only when it stays usable without repeated pulling at the throat or temples.
Try two: a square scarf with its depth kept at the back
A square offers a different distribution of cloth and may be worth comparing when a rectangle gives long ends but not enough depth where you need it. Start by bringing opposite corners together to form a triangle. Smooth the fold without forcing it into a rigid crease.
Place the folded edge across the head, letting the broad triangular section fall behind you and the two side points come towards the front. Adjust the folded edge to the face opening you prefer. Do not immediately wrap the points around your neck; first see how the triangle covers the back and shoulders.
Bring the front sections together beneath the chin in a relaxed position and secure them appropriately where needed. Let the side points fall naturally, then inspect the neckline of your top. A higher base neckline may make the arrangement simpler; a lower one needs a deliberate plan for the front coverage.
Where the scarf allows it, one front point can cross towards the opposite shoulder. Check the back point after doing so, because you may have drawn material away from it. You are redistributing a finite piece of cloth, not creating additional depth.
A very small square may not provide the coverage you want without becoming tight or relying on the top to do more than you intended. Choose a larger suitable scarf or another construction instead of repeatedly pulling the corners farther apart.
Look at any printed border in its worn position. The diagonal fold may bring one edge close to the face and leave another at the chest. Turn the scarf before wrapping when that creates a colour arrangement you prefer, but keep the fitting requirements ahead of displaying a particular motif.
This is a starting arrangement, not a guarantee of full coverage in every square scarf. Try it seated and with the outerwear you use. A triangle that sits comfortably over a simple top may bunch against a high coat collar.
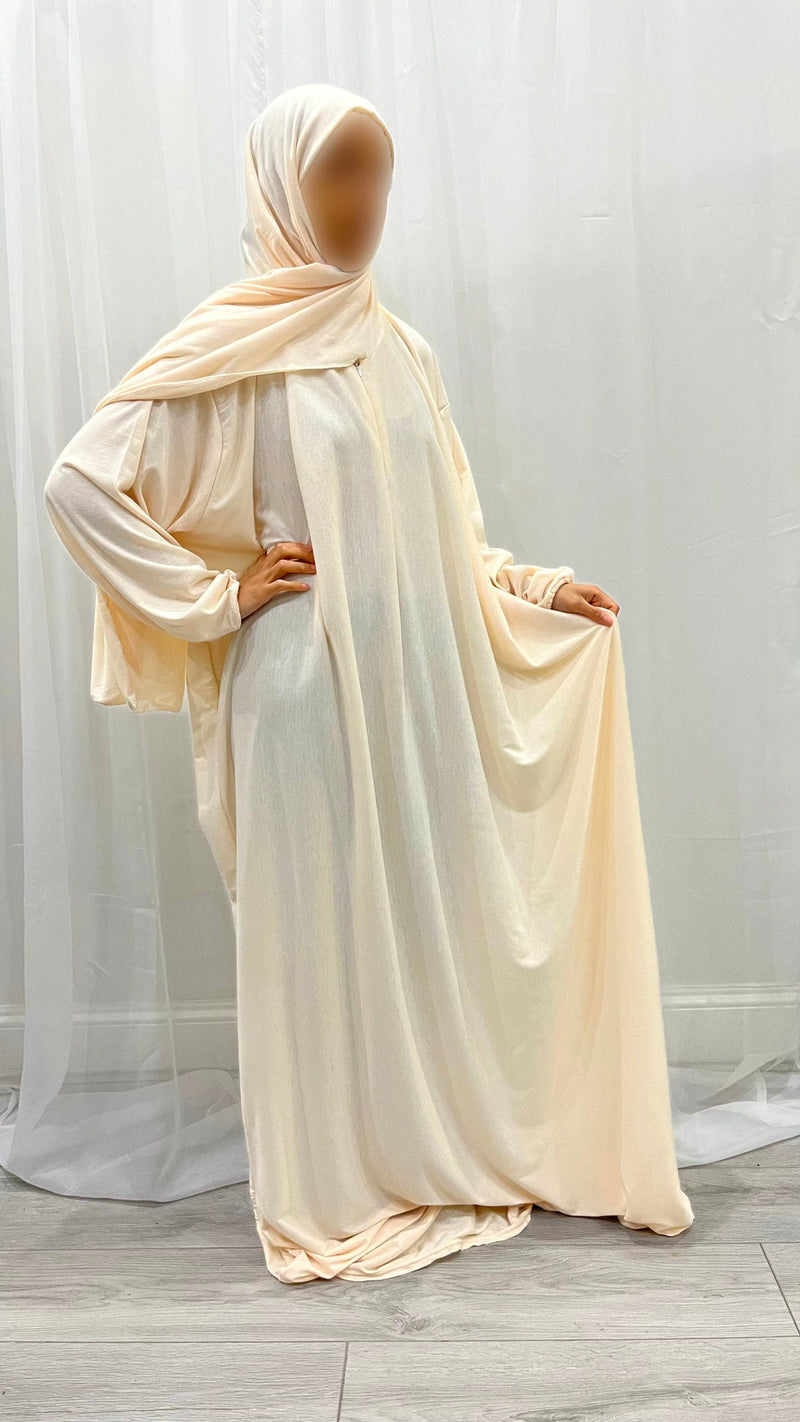
Try three: a pull-on covering designed to work on its own
A pull-on style may remove the need to arrange separate ends, but it still needs an individual fitting. Ask whether the garment is intended to provide the required coverage without a cap and what the listing includes. Do not infer that from a carefully styled front photograph.
Put it on using the opening as designed rather than stretching it forcefully. Let the fabric settle, then check the sides, back and neckline. The front opening should not need tightening until it presses simply to stop the whole covering shifting backwards.
Look at the connection between the head section and any longer chest drape. Raise your arms and turn your head. Notice whether movement below pulls at the opening, or whether the covering has enough room to settle without assistance.
Glasses deserve their own trial. Put them on and take them off without forcing the arms through a tight stack of fabric. If a seam crowds one ear, reassess the fit rather than bending the frame to suit the covering.
A pull-on piece that works with one neckline may still need another arrangement over a different top. Keep a note of suitable combinations. Convenience comes from having a garment you understand, not from assuming one size or one opening must work for everyone.
Slipping is a question to investigate, not a cue to pull harder
Watch what moves first. If the entire scarf travels backwards, compare where the weight of the ends rests. If only the folded edge turns over, inspect the fold and hem. If the sides open when you turn, check the width and the way the front is secured.
Reduce one source of pull at a time. Take a long end off a shoulder and see whether the front settles differently. Remove a decorative accessory. Put the coat on and off. These small comparisons help identify what is happening instead of replacing the scarf whenever anything moves.
A loose edge and an opening that feels tight can occur together. Tightening the whole wrap may worsen the uncomfortable part without addressing the loose one. Alter the distribution or choose another scarf rather than treating more tension as the universal solution.
Stop using an arrangement that hurts or irritates. You do not need to prove that a cap-free style can work at any cost. A different scarf, a different support piece or returning to your familiar arrangement may be the straightforward answer.
Do not use household glue, sprays or improvised skin adhesives to make an unsuitable scarf stay put. Clothing adjustments should remain compatible with the item and its intended use. An unfamiliar product is not a substitute for a scarf with adequate size and a manageable drape.
Check coverage at the sides, not only beneath the chin
Once the front looks right, turn away from the main mirror and inspect the back. Look at the area above the ears, the lower hairline and the neckline. A smooth front photograph can conceal an arrangement that has borrowed too much material from elsewhere.
Reach forward, sit and bend as you ordinarily would during the intended activity. Do not hold the scarf in place while checking it. Notice which part of the top becomes visible and whether the completed outfit remains within the coverage you want.
A turban-shaped wrap may leave the neck or chest uncovered, depending on its construction and the clothes beneath it. It is not an equivalent substitute for a fuller arrangement without assessing those areas. Choose a different style or appropriate additional clothing where your requirements call for it.
For prayer, make a separate assessment through the movements and guidance relevant to your practice. A scarf that suits a dinner outfit does not automatically answer that question. Seek qualified religious advice for requirements rather than relying on the name of a tutorial.
Make the workday version easy to repeat
Use a scarf and top combination you have already tried. Keep any necessary fastening in a suitable place with the scarf, but avoid storing an exposed pin where you may catch it when reaching into the drawer. A small routine should reduce uncertainty, not hide hazards among other clothes.
Put on your coat, bag and glasses before leaving. A shoulder strap can pull an end that seemed stable indoors, while a high collar can move the back of the scarf upwards. Correct the interaction you can identify rather than starting with a much tighter opening.
At a desk or table, check where the front drape rests when you lean forward. Move loose ends to a manageable position while keeping the coverage you need. A style chosen for a quiet indoor day may not be the same one you prefer for a windy journey.
For a role involving equipment or specific clothing requirements, follow those requirements first. Do not leave loose ends where they could catch, obstruct a view or interfere with correctly fitted protective equipment. Choose an appropriate arrangement for the actual task.
Keep a private reference image of the completed wrap and identify the scarf used. Two similar-looking rectangles can have different dimensions and edges. Knowing the actual item is more useful than a vague note to repeat a soft drape.
An occasion version need not add a new layer
Once a cap-free arrangement works, change its colour or its relationship with the dress before adding more hardware. A plain scarf beside an embroidered gown may look more considered than several decorative details competing near the face.
Try the outfit in the lighting you expect indoors. A quiet sheen may become more noticeable, while two near-matching colours may separate. Decide whether you prefer a deliberate contrast rather than purchasing another almost-identical scarf.
Wear the arrangement for a short, ordinary rehearsal: sit, speak, reach for the bag and put the coat on. You are checking the clothing, not testing how long you can tolerate discomfort. A decorative pin that causes pulling should be moved, replaced with something suitable or left out.
Keep the practical foundation familiar. Trying a new scarf, new fastening and new wrap immediately before an event makes any difficulty harder to diagnose. An occasion does not require abandoning the comfortable arrangement you already know.
A simple comparison notebook beats a drawer of near-duplicates
Choose two scarves you already own and compare them over the same hair arrangement and top. Record their relaxed dimensions, the wrap used and the first adjustment each needed. Leave colour preferences in a separate note so a beautiful shade does not disguise an unsuitable size.
For example, one rectangle may give enough front length but leave you short of depth at the back. Another may offer sufficient coverage but collect too much cloth beneath the coat collar. Those are different reasons to change a scarf, and each points towards a more precise next choice.
Try one modification on each before deciding. Move the longer end's resting position, reduce an unnecessary front fold or compare a simpler neckline. Do not make four changes simultaneously and then assume you know which one helped.
When neither scarf works cap-free in the way you prefer, keep that result. You might still enjoy both with an undercap. A practical experiment does not have to end in a new purchase or a declaration that everyone can manage without support.
For online shopping, ask for dimensions and a close-up of the edge finish. Request composition and care details too. Avoid a guarantee framed around all hair types or all-day security; what you need is information that lets you assess the particular scarf.
Keep the fastenings optional only when they really are
Some arrangements stay usable without additional fastening for some wearers, but that is something to establish through your own trial. A photograph with no visible pin does not prove that no support is present or that the scarf remains secure through a normal day.
Use an appropriate fastening when the style needs one, and check its closure before wearing. Avoid pulling delicate fabric through a fitting that is too small or forcing a decorative piece to carry the entire weight of a long drape.
Remove fastenings before cleaning unless the item is designed and instructed otherwise. Keep the care routine and storage arrangement separate from the temptation to leave the scarf permanently pinned in a particular shape.
The hijab fastening guide offers a closer look at matching a fastening to the scarf. The useful distinction here is simple: a cap, an opaque layer and a fastening perform different jobs. Omitting one does not automatically remove the need to consider the others.
Take care of the scarf's usable shape
Keep the garment's instructions with it, particularly when several scarves look similar. A change in the way a scarf sits can be difficult to understand if you no longer know which item was used in the successful trial.
Follow its own cleaning and drying directions rather than copying a routine from another fibre or a general internet tutorial. Do not deliberately shrink or stretch it to correct a poor fit. A scarf with the wrong dimensions is better treated as a different purchase decision.
Inspect the edge, any frequently folded area and places where fastenings meet the cloth. Do not tug at a loose thread as a way of removing it. Seek a suitable repair assessment when an edge or seam begins to fail.
Store it fully dry, without rough jewellery or exposed fastenings resting against it. Keep the useful wrap reference nearby in your notes rather than preserving its shape through a tight bundle of pins and folds.
When removing the cap makes the wrap more complicated
Compare the finished arrangement, not the number of items laid out before dressing. You might remove a thin cap but fold the scarf three times near the forehead to achieve the opacity or front edge you want. That may be comfortable, or it may create more bulk in exactly the place you hoped to simplify.
Take the scarf off and lay out the two versions: your familiar supported arrangement and the new cap-free one. Note where the extra cloth sits in each. If the new version gathers at the ears, changing the front fold may help. If it needs several extra turns to cover the back, the scarf's shape or size is probably the more useful question.
For a hypothetical comparison, imagine a wide opaque rectangle that works with one gentle front fold, and a narrower sheer scarf that needs several overlapping sections. The first may be a more straightforward cap-free experiment. The second may still be a scarf you love with suitable support. This does not establish that one fabric is better for everyone; it explains why counting garments alone is misleading.
Keep the result practical. You might prefer cap-free dressing for one familiar scarf and use a cap with another. There is no need to replace a useful collection or remake every routine at once. Judge each completed arrangement by its coverage, comfort and repeatability, then keep the version that makes sense for you.
What counts as a successful cap-free style?
It provides the coverage you want without requiring you to hold it in place. The opening remains comfortable, the back has enough material and the clothing beneath does its intended job. You can move your head and carry your ordinary belongings without reconstructing the wrap.
It also fits the setting. A style that works at home may need a different arrangement for a journey or a long event. You can keep several versions without expecting one scarf to solve every situation.
Most importantly, it remains a choice rather than a test. Wear a cap when it is useful, leave it out when the arrangement genuinely works, and keep experimenting only while the changes make dressing easier. The scarf should ask for less of your attention, not give you another rule to worry about.