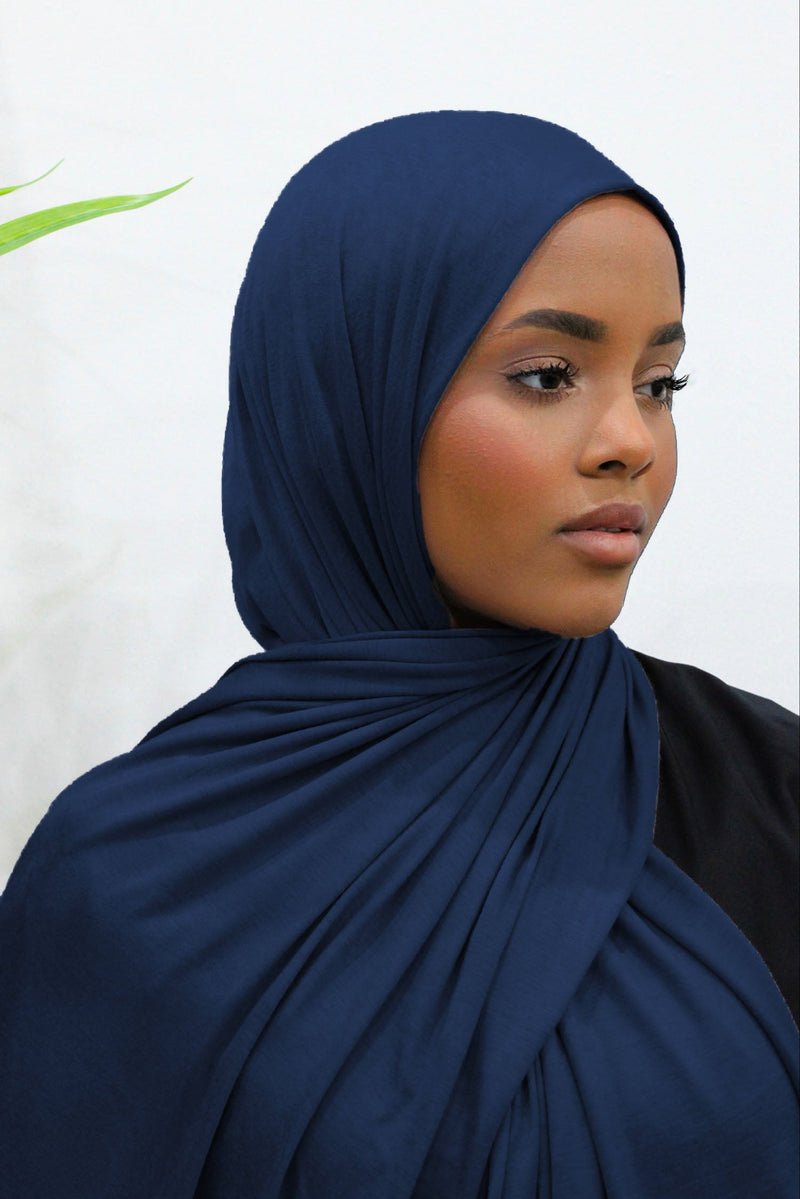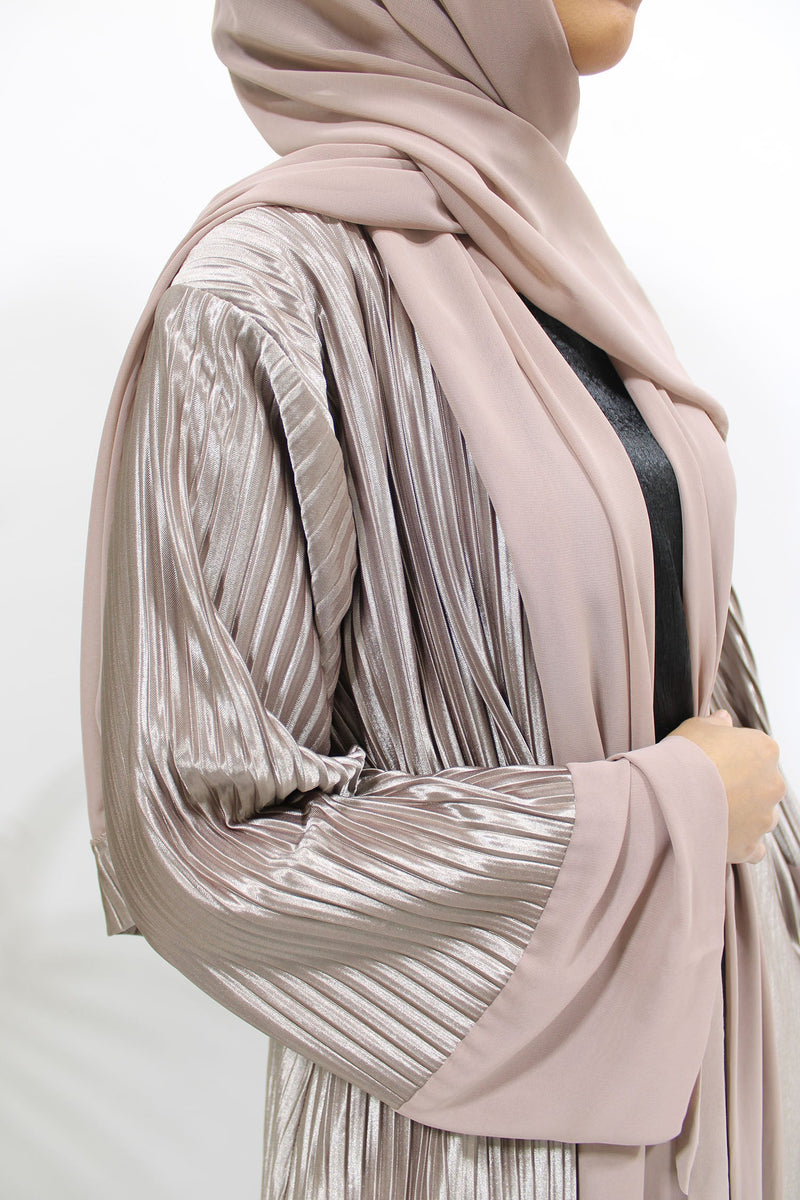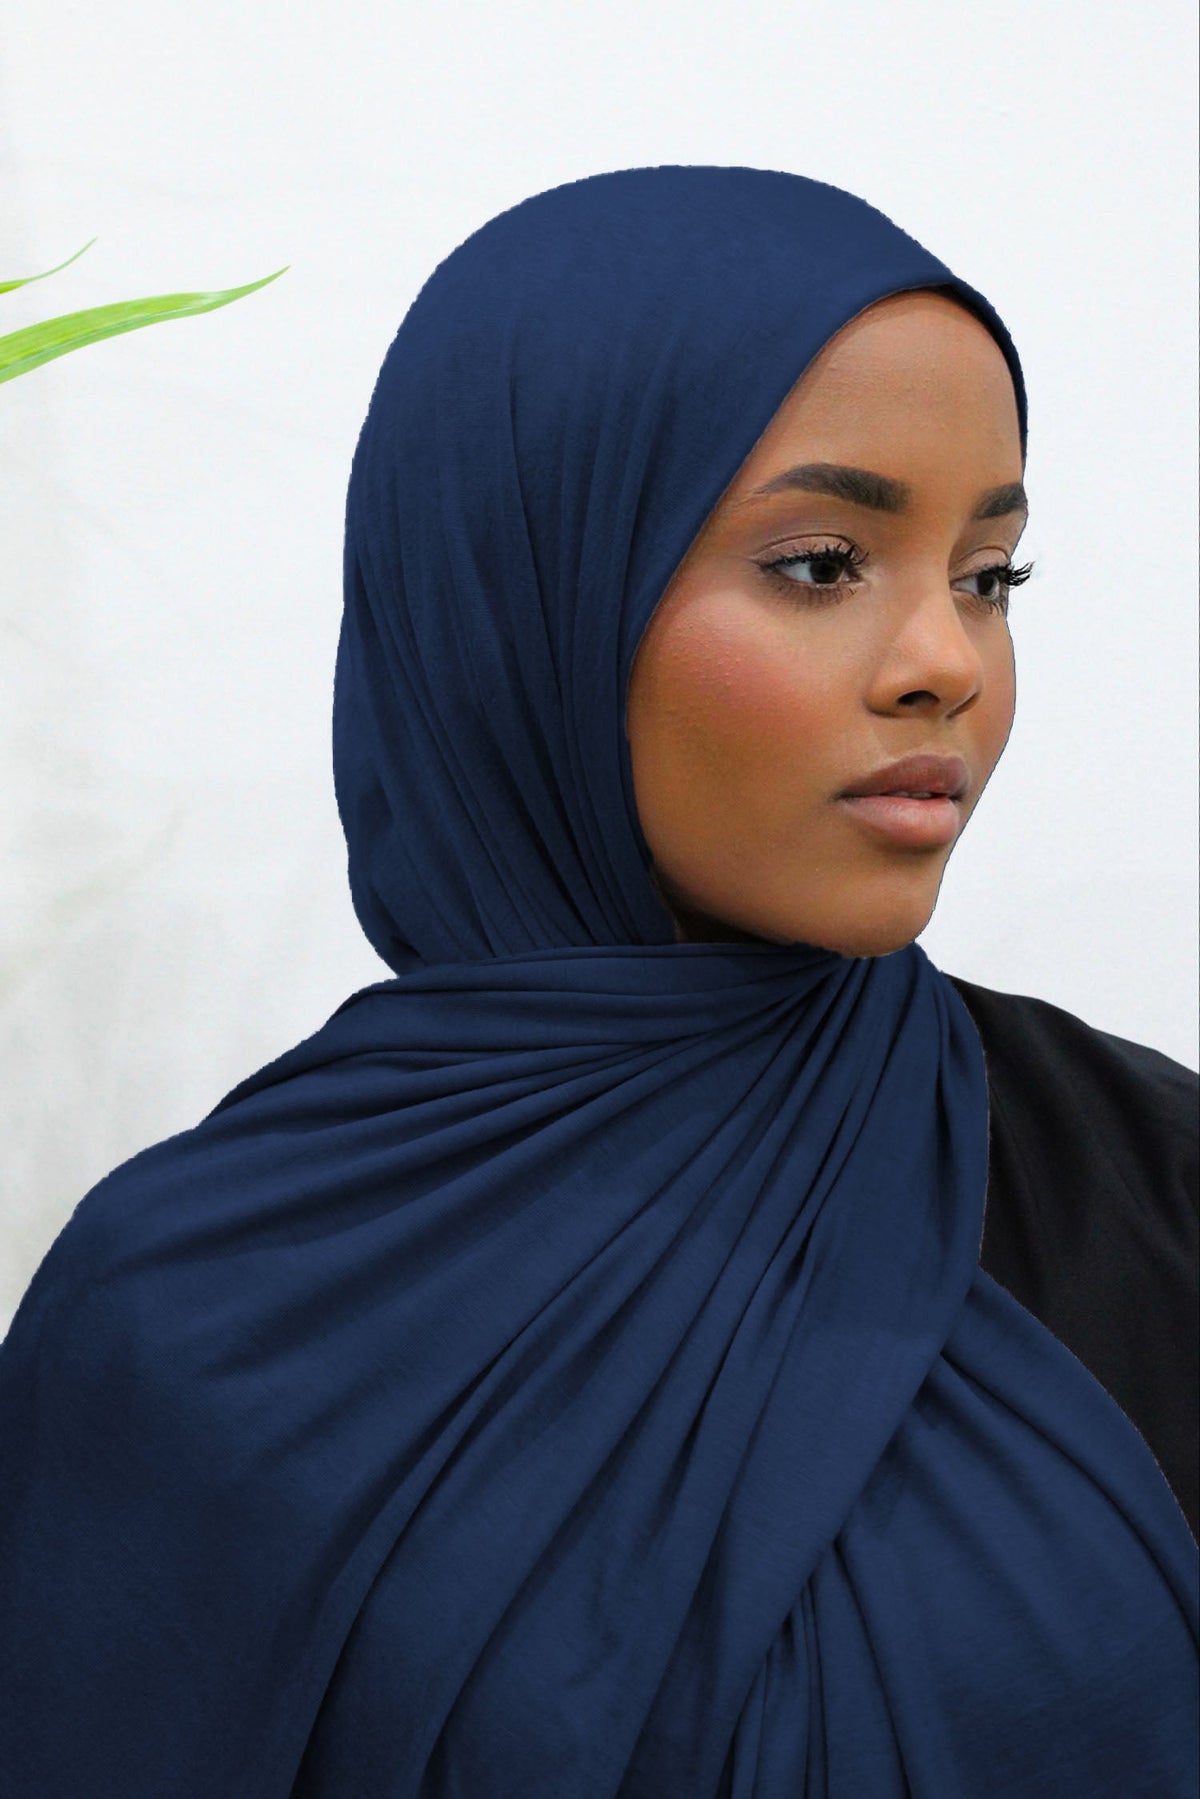
How to wrap a scarf as a hijab
Learning to wrap a hijab is easier when you stop trying to make every fold at once. First arrange the part around your face. Then decide where the ends need to go. Finally, check the coverage and secure the fabric. Working in that order gives you a way to understand what went wrong when a style slips, feels tight or runs out of fabric on one side.
You do not have to make a knot to wear a scarf as hijab. Many arrangements use folds, draping and a suitable fastening, while others stay in place without pins because the scarf and supporting layers work together. The right method depends on the actual fabric, its dimensions and the coverage you prefer.
This guide begins with a straightforward rectangular-scarf wrap, then explains a square-scarf option and several ways to adapt them. Treat the directions as a practical starting point. A technique may need adjusting for your scarf rather than more force, more pins or a tighter fit.
Get the scarf and supporting pieces ready
Choose one scarf for your first attempts and inspect it before wearing it. Check the edges, remove any packaging attachments and make sure there are no damaged fastenings left in the fabric. A plain or familiar scarf can make it easier to see what your folds are doing.
Spread it out so you understand its shape. A long rectangle has two ends that can be distributed differently. A square is often folded into a triangle for a different starting arrangement. Neither shape automatically gives more coverage; the dimensions and the way you use them matter.
Have a mirror available that shows your shoulders and upper body as well as your face. A close view helps with the edge, but the wider view shows whether the chest and back drapes are where you intended. You may use a second mirror to check areas you cannot see directly.
Set out any undercap and suitable fastening you plan to use. Keep small accessories in a secure container and never hold pins in your mouth. You should be able to put an accessory down safely while adjusting the scarf rather than trying to manage everything in one hand.
Start without a bulky coat or bag strap in the way, but bring those pieces into the final trial if you will wear them. The scarf needs to work with the complete outfit, not only in an uncluttered practice setup.
Choose a comfortable foundation
Arrange your hair in a way that feels comfortable beneath the scarf. There is no requirement for one particular bun, braid or amount of volume. The useful aim is to keep the hair where you want it without creating a shape or tension you find uncomfortable.
An undercap is optional in some arrangements and useful in others. Check its fit separately. If it presses, slips or leaves an area uncovered that you want covered, address that before adding the scarf. Tightening the outer wrap is not a reliable solution to every underlayer problem.
Decide how much of the cap, if any, you want visible at the front. A small band can be a deliberate detail, while a close colour may make the layers less distinct. Keep that decision separate from the practical job the cap needs to do.
For more on the different functions of these layers, see our guide to undercaps and other hijab foundations. Begin with the support you need, not the assumption that every style requires the same number of layers.
Method one: a simple rectangular-scarf wrap
1. Place the scarf and leave one end longer
Put the scarf over your head with the front edge near the position you prefer. Leave one end shorter and the other longer. Do not choose a fixed difference in length before seeing how much fabric your scarf provides; the longer end needs enough material for the route you intend it to take.
Let both ends hang while you adjust the front. Check that the back of the scarf covers the area you want covered. If too much fabric has been pulled forward, redistribute it now rather than trying to repair the back after the wrap is secured.
2. Arrange the edge around the face
Smooth or fold the front edge according to the fabric. You might prefer a soft curve or a more defined fold. Keep the sides comfortable and leave room to speak and turn your head. Do not pull the fabric inward simply to make a smaller opening.
Look at both sides from a normal distance. They do not have to be mathematically identical, but the arrangement should feel intentional. If one side has a much deeper fold, release it and start that small section again before moving on.
3. Bring the sides together comfortably
Bring the two sides into the position beneath the face that suits your intended coverage. Hold them lightly while checking the neck and chest area. The fabric should not be pulled tightly across the throat or jaw.
If you use a fastening here, choose one suitable for the scarf and place it where it will not press or catch. Close it fully and make sure any sharp point is enclosed and directed safely away from the body. Do not push a pin towards your skin while trying to hide it between layers.
If the arrangement is already comfortable without a fastening, keep holding it while you test the next step. Pin-free does not mean secure with every scarf, so assess the result rather than relying on the name of the technique.
4. Bring the longer end across
Take the longer end and guide it across the front in the direction you want the drape to travel. Keep some ease in the fabric. You are arranging a covering layer, not pulling a narrow band tightly around the neck.
For a wrap that goes over the head, lift that end gently over and let it settle towards the opposite side or shoulder. Check that the face opening has not been dragged backwards. If it has, release the tension and give the travelling end more length from the starting arrangement.
You can also stop at a shoulder drape rather than taking the end over the head. Choose the route that works with your scarf and coverage preferences. A simple finish is not an incomplete version of a more elaborate one.
5. Settle the fabric across the chest and shoulders
Spread the relevant section so it provides the coverage you want. Look for folds that are bunched unnecessarily in one place. Smooth them with your hands without stretching the scarf or pulling the whole wrap away from the back.
Check the shorter end too. It may sit beneath the drape or fall separately, depending on the style. Do not tuck it away so aggressively that it creates a hard lump or pulls at the fastening. The ends should rest comfortably within the arrangement.
6. Secure only what needs securing
If the shoulder or side drape needs support, use a suitable fastening in a place you can see and manage safely. Check that it does not pull a delicate edge or sit where a bag strap will press against it.
Do not add several pins merely because the style is not behaving as expected. First check the starting lengths, the route of the longer end and whether an underlayer is slipping. A small redistribution of fabric can be more useful than another fastening.
7. Test the finished wrap in movement
Speak, look down, turn both ways and raise your arms as you normally would. Check the face opening, neck, chest and back. Add the outerwear and accessories you expect to use, then repeat the relevant movements.
If a gap appears, identify which layer moved and why. You may need a different starting placement, more fabric in that area or another scarf size. Do not assume that tightening the entire wrap is the only answer.
Method two: starting with a square scarf
Spread the square scarf out and fold it diagonally to form a triangle. Align the layers as neatly as the fabric allows, but do not stretch the corners to force them into place. The long folded edge will usually form the front, with the larger triangular section towards the back.
Place the folded edge over your head and arrange the two front points. Check how much fabric falls behind you and whether the front points are long enough for the finish you want. A square that is too small for your preferred arrangement will not become more useful through a tighter wrap.
Set the front edge and bring the sides together comfortably. You can use a suitable fastening or another secure method that works with the fabric. Keep the same precautions about pressure, sharp points and ease of movement as with the rectangular scarf.
Choose where the points will go. They may drape at the front, cross gently into a shoulder arrangement or sit within a fuller chest drape. Check the coverage after moving them, because crossing the points can change what is covered at the sides.
Look at the back triangle in a wider mirror view. It should sit in a way you find comfortable with the neckline and outer layer. If it catches beneath a collar or bunches inside a jacket, adjust the outfit or scarf arrangement rather than ignoring the pressure.
A square scarf can give a defined starting fold, but the final result still depends on its material and dimensions. Try it as its own technique rather than expecting it to behave exactly like a rectangle.
Understand what changes when the fabric changes
A wrap that works easily with one scarf can behave differently with another. The new scarf may be longer, heavier, smoother or stretchier. Its edge may also be thicker. Those differences affect where the fabric settles and how it responds to a fastening.
With a very soft scarf, a sharply defined front may relax as you wear it. You can accept a softer edge or choose another scarf for the more structured shape. There is no need to keep forcing the same fold if the material does not support it.
With a stretchy scarf, avoid pulling it to its limit simply to make the ends reach. Check the arrangement in a relaxed state. A wrap that depends on tension may feel different after movement and can distort the outline you intended.
For a more delicate or slippery scarf, inspect the support and fastening choices carefully. A heavy brooch or unsuitable pin may be the wrong solution. A simpler drape or a different underlayer may work better with that particular item.
Our hijab fabric guide provides a way to compare these qualities. Use it alongside a practical trial rather than expecting a single fabric category to tell you exactly how every scarf will wrap.
Add variations after the basic arrangement works
A side-swept finish
Keep the face frame familiar and change where the longer end settles. Let it fall over one shoulder, then check whether the opposite side still gives the coverage you wanted. You may need to alter the starting length distribution before the drape looks and feels balanced.
Try the side finish with your bag and outerwear. If the strap repeatedly moves it, use the other shoulder or a shorter arrangement. A style should fit the way you carry your belongings, not require you to abandon a practical bag.
A layered appearance
Create one additional fold at a time rather than stacking several at the beginning. Look at where the extra fabric gathers and whether it adds anything you enjoy. More layers can change the visual texture, but they also change the weight and handling of the scarf.
Check the coverage beneath the decorative fold. A layer added for appearance should not pull the foundation out of place. If it does, simplify the arrangement or use a scarf with more suitable dimensions.
A loose decorative knot
A knot can be part of a scarf-end arrangement, but it should not tighten around the neck or become the only thing maintaining the coverage you want. Establish the covering layers first, then decide whether a loose knot in the ends adds a detail you like.
Test its weight and position while seated and moving. If it creates pressure, pulls the front edge or catches on the outfit, choose another finish. You do not have to use a knot simply because the task is described as tying a hijab.
Head-wrap styles need a separate coverage check
Some turban-style or head-only arrangements leave the neck and chest exposed. They should not be assumed to provide the same coverage as a scarf draped over those areas. Decide what you want covered before following the technique.
If you use a separate layer, check the joins at the sides and back as well as the front. The complete outfit needs to remain satisfactory while you turn and bend. A high collar or a small front panel may not answer every coverage question.
You can enjoy a decorative head-wrap shape without treating it as the required next stage of learning. A straightforward wrap is a complete option in its own right. Choose complexity only when it gives you something useful or enjoyable.
Troubleshooting: find the first point that needs changing
You run out of fabric on the long side
Undo the travelling end and check the original placement. Too much length may have been left on the short side or used in a deep front fold. Redistribute the scarf before trying again. If there still is not enough material, choose a simpler finish or a larger scarf instead of stretching or tightening it.
The scarf slips backwards
Check whether the rear fabric or an end is being pulled by a collar, bag or heavy accessory. Look at the underlayer as well. Solve the source of the pull rather than repeatedly bringing the front edge forward and adding more pins.
The area beneath the chin feels crowded
Open that part of the arrangement and smooth the layers before fastening again. You may have gathered too much fabric at one point. A shallower fold or a different meeting position can help, provided the result keeps the coverage you want and leaves comfortable room for movement.
The two sides look different
Decide whether the asymmetry is part of the style you want. If not, compare the fold depth and starting position on both sides. Adjust the specific difference rather than pulling at the finished ends, which may disturb other areas.
The scarf feels secure only when it is very tight
Stop and reassess the arrangement. Try a more suitable support, different dimensions or a simpler route for the ends. Security should not depend on enduring pressure. If a particular scarf does not work in the technique, use another technique rather than treating the discomfort as inevitable.
A pin catches or leaves a visible pull
Remove it carefully without dragging it through the fabric. Inspect the accessory and the affected area, then choose a suitable alternative if needed. Do not keep using a damaged fastening or assume that hiding the mark beneath a fold solves the underlying problem.
Coordinate the wrap with your clothes
Look at the neckline before deciding how much fabric to place at the front. A plain round neck, shirt collar and decorated neckline each create a different surface beneath the scarf. You can cover a collar or embellishment; it does not have to remain visible.
Try the scarf with sleeves and outer layers in use. Raising your arms can move the garment beneath the drape, while a coat may lift the scarf at the shoulders. Make the final adjustment with those pieces present.
For colour, start with an outfit you already like. A plain scarf is useful while learning a technique because the folds are easier to assess. Once the arrangement works, try a print or a different colour without assuming that you must change the technique as well.
For an occasion, practise with the actual scarf and accessories in advance. A familiar wrap in a different material may need small changes. Do not rely on a successful trial with one scarf as proof that a heavier or more delicate one will behave identically.
Learn one repeatable skill at a time
Choose a single goal for a practice session. You might work on an even front fold, a comfortable fastening or a chest drape that remains in place. A useful result does not have to be a completely new style.
When following a tutorial, pause at the point where your fabric behaves differently. Compare scarf dimensions, starting lengths and fold depth. Adapting the method to your materials is part of learning, not evidence that you are doing it badly.
Keep a short note of the arrangement that works: which end was longer, where the main fold sat and what support you used. This is more helpful than trying to remember an entire sequence from a single finished photograph.
Give yourself permission to use a familiar wrap while experimenting occasionally. You do not need an extensive collection of techniques before you can dress comfortably and in a way you enjoy.
Care for the scarf according to the individual garment
Remove accessories before cleaning and inspect the fabric for pulls or damage. Read the care instructions rather than assuming that every hijab should be hand-washed, laid flat or treated with the same detergent. Fibre blends, trims and finishes can make a difference.
Store scarves where they are clean and dry, using a method appropriate to their material. Keep pins and other small accessories separately secured so they do not remain hidden in folded fabric. Check an unfamiliar scarf before putting it on.
Our care guide for hijabs and modest garments offers broader questions to consider, while the scarf's own instructions should guide the specific treatment. Looking after the edge and fabric makes a familiar wrap easier to repeat.
Questions beginners often need answered before another tutorial
Can I wrap a hijab without an undercap?
That depends on the scarf, the arrangement and the coverage you want. Try the wrap with the supporting layers you intend to use and move normally. If it remains comfortable and provides what you need without a cap, you do not have to add one solely because a tutorial uses it. If the scarf slips or leaves an area you want covered, compare a suitable support or another scarf rather than assuming tighter wrapping is the answer.
Does the longer end always go over the head?
No. It can finish across a shoulder or within a chest drape when the dimensions and coverage work. Taking the end over the head is one route, not the definition of a finished hijab. Try the simpler finish first, then compare the additional wrap if you want a different look. Keep enough fabric at the back and sides in either version.
How do I stop forgetting the sequence?
Break it into three jobs: position the foundation, place the travelling end and finish the drape. Practise each job separately before combining them. A note about which side starts longer is often more useful than memorising every hand movement from a video. Once you understand where the fabric needs to end up, you can adapt the route to your own scarf.
What if handling pins or several folds is difficult?
Choose an arrangement you can manage comfortably. That may mean fewer folds, a suitable pin-free scarf or a ready-shaped option rather than a complicated wrap. Check that the alternative genuinely provides the coverage and fit you want. An easier method is not a lesser achievement; it is a practical choice about the tools and movements involved.
Should I keep adjusting the front until it is perfectly even?
Check that it is comfortable and that the coverage is satisfactory, then step back. A small difference between the sides may be unimportant in the full outfit. Repeatedly pulling at one edge can disturb a wrap that already works. Decide whether you want symmetry or a softer arrangement, and allow the fabric to behave like fabric.
Can I use a decorative brooch instead of the main fastening?
Only if it is genuinely suitable for that job and the scarf. Some decorative pieces are too heavy, have an unsuitable pin or sit in a position that presses. Establish a secure arrangement first and decide whether the decoration is appropriate. Do not assume that an attractive accessory can safely replace every functional fastening.
Before you leave the mirror
Check the areas you intended to cover, then test the ordinary movements of your day. Put on glasses or a headset if you use them. Add the coat and bag. Make sure fastenings are closed and comfortable and that no loose end interferes with what you need to do.
Once the arrangement works, stop searching for a completely flawless fold. A scarf is fabric worn by a moving person, not a fixed display. The useful achievement is a wrap you understand well enough to adjust calmly and wear comfortably.